Thursday, February 26, 2015

Reclaimed Wood Conversion

I never understood the love of beat up old wood being used in new projects. Don't get me wrong, I am a woodworker who loves the color, patterns, and and history of tight grain old growth timber, I just prefer it to be nicely milled, knot free and dimensionally stable. However, as of late, Megs has somewhat converted me. I am still only 50/50 just due to the amount of work it takes to reclaim and repurpose lumber, but the percentage swung quickly on this project.

During the tear out phase I encountered 3/4” thick, 6 1/2” wide shiplap boards all along the walls, just behind the paneling. They were half painted, half raw boards, some that spanned the full 15’ long walls.  

As in most old, dry walls I figured they would just disintegrate while being removed but with just the slightest of care I was able to pull them right off the walls using the ol’ hammer/ crow bar technique and pass them out the window. At this point I had no idea what I was going to do with these boards but they seemed in decent enough shape to use for something else around the farm.

The next morning I showed Megs the shape they were in and she was immediately excited about the possibilities. We later discovered that the collar ties needed to stay in the room for support so I hatched a plan. What if I was to double up the collar tie supports and wrap them in the wood from the walls to make them look like beams? Megs liked it so ahead we forged. 

The next issue was what were were going to do about the current finish on the boards. There was no way I was just going to slap up those nasty old boards how they were. I grabbed a length of board and set forth figuring out how to refinish. In 6 sections I sanded with 40 grit, 40 then 120 grit, 120 grit, scraped, single pass through the planer, completely clean through the planer. Megs and I conferred and the clean pass through the planer yielded beautiful golden… hickory we think. 

With the path set, I now had to contend with the issue of planning down a couple hundred feet of boards in sub freezing temperature in a shop that isn't big enough to plane 15’ boards. Luckily on all fronts, my parents were visiting for the weekend and the weather jumped up to a balmy 30-ish degrees. My Dad and I set up a work station in the yard and got to work. 

I bought my planner second hand with a couple sets of knives and the last I used it was to plane down a bunch of rock hard hickory for Meg’s cutting board. I obviously burned the hell out of those blades because the first board we tried to run through for this project burned, chattered and took all my force to push it through. 

The look on my Dad’s face was one of concern. He asked the last time I changed blades, which made me laugh once I removed the actual bowed dull hunks of… I can't even call them blades. A fresh set changed in and we were off to the races, with some the smoothest planing I have ever done. 

It took 3 total passes to get one side cleaned up of me feeding and Dad catching and stacking. 

Post-Planing

We ended up with a pile of shavings big enough for me to fill the 5x10’ chicken coop about 2” deep… a lot of shavings! 


We packed up the temporary workshop just in time for a couple inches of snow to fall out of the sky.

A note about planing. Make sure you scour the boards for any metal before running it through the machine. Not only will it ruin your blade set and leave a poor finish, it can be dangerous to send flying metal projectiles through the air. Small metal detectors are available for this very process but I don't do enough of this kind of work to warrant one, so a handy set of pliers and quick hands to the off switch are my method.

After all the boards were cleaned up and ready, I set up my table saw and cut off the shiplap edges. I was able to get all of the beams wrapped choosing the best boards out of the stack we had planed and still have at least 100 feet of boards left over for the next project. I'm thinking the back “wall” of some mud room lockers where we can hang all of our coats and store shoes and accessories, but I think that project will be a bit down the road.

All in all I am really happy with how the beams turned out and it was worth the time in the end. 
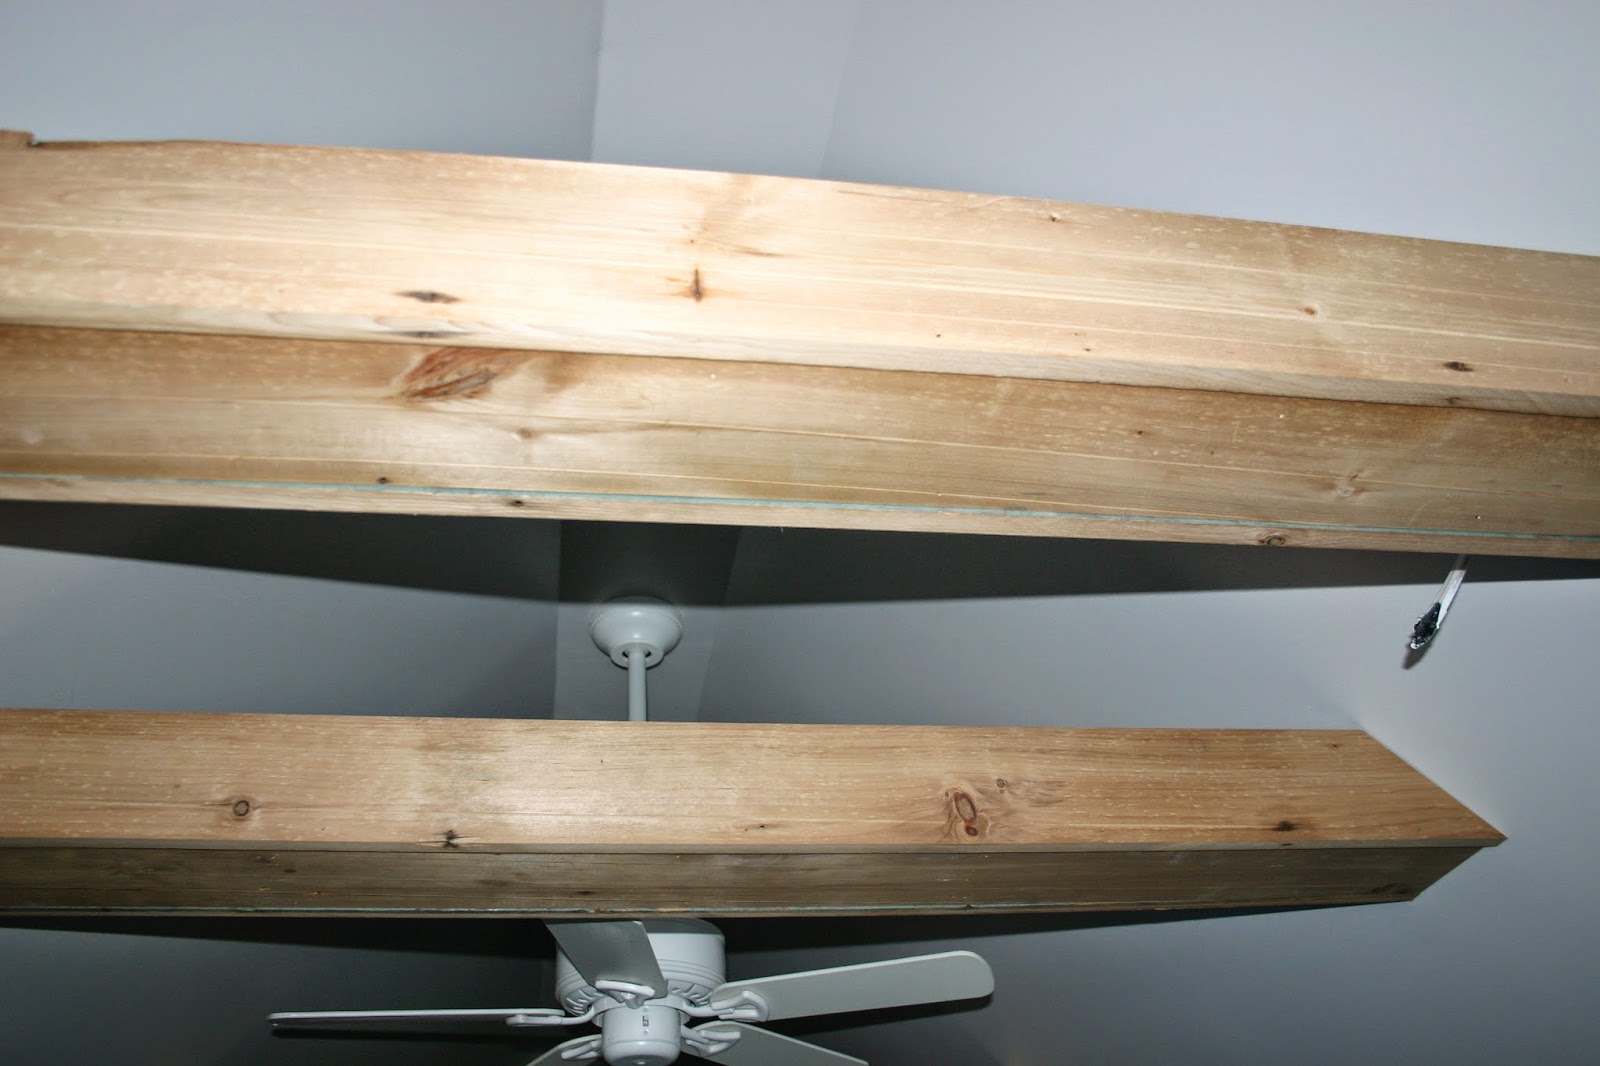
(wires sticking out of walls are for lights that will be installed soon)


And a reminder of what we started with
The look is great and it is nice to be able to carry on the tradition of the house by reusing the old boards in a unique way. The custom light boxes I am building now also will feature this reclaimed wood and I am toying with building a custom entry door with the same. More to come on that soon!

No comments:

Post a Comment