Thursday, February 26, 2015

Reclaimed Wood Conversion

I never understood the love of beat up old wood being used in new projects. Don't get me wrong, I am a woodworker who loves the color, patterns, and and history of tight grain old growth timber, I just prefer it to be nicely milled, knot free and dimensionally stable. However, as of late, Megs has somewhat converted me. I am still only 50/50 just due to the amount of work it takes to reclaim and repurpose lumber, but the percentage swung quickly on this project.

During the tear out phase I encountered 3/4” thick, 6 1/2” wide shiplap boards all along the walls, just behind the paneling. They were half painted, half raw boards, some that spanned the full 15’ long walls.  

As in most old, dry walls I figured they would just disintegrate while being removed but with just the slightest of care I was able to pull them right off the walls using the ol’ hammer/ crow bar technique and pass them out the window. At this point I had no idea what I was going to do with these boards but they seemed in decent enough shape to use for something else around the farm.

The next morning I showed Megs the shape they were in and she was immediately excited about the possibilities. We later discovered that the collar ties needed to stay in the room for support so I hatched a plan. What if I was to double up the collar tie supports and wrap them in the wood from the walls to make them look like beams? Megs liked it so ahead we forged. 

The next issue was what were were going to do about the current finish on the boards. There was no way I was just going to slap up those nasty old boards how they were. I grabbed a length of board and set forth figuring out how to refinish. In 6 sections I sanded with 40 grit, 40 then 120 grit, 120 grit, scraped, single pass through the planer, completely clean through the planer. Megs and I conferred and the clean pass through the planer yielded beautiful golden… hickory we think. 

With the path set, I now had to contend with the issue of planning down a couple hundred feet of boards in sub freezing temperature in a shop that isn't big enough to plane 15’ boards. Luckily on all fronts, my parents were visiting for the weekend and the weather jumped up to a balmy 30-ish degrees. My Dad and I set up a work station in the yard and got to work. 

I bought my planner second hand with a couple sets of knives and the last I used it was to plane down a bunch of rock hard hickory for Meg’s cutting board. I obviously burned the hell out of those blades because the first board we tried to run through for this project burned, chattered and took all my force to push it through. 

The look on my Dad’s face was one of concern. He asked the last time I changed blades, which made me laugh once I removed the actual bowed dull hunks of… I can't even call them blades. A fresh set changed in and we were off to the races, with some the smoothest planing I have ever done. 

It took 3 total passes to get one side cleaned up of me feeding and Dad catching and stacking. 

Post-Planing

We ended up with a pile of shavings big enough for me to fill the 5x10’ chicken coop about 2” deep… a lot of shavings! 


We packed up the temporary workshop just in time for a couple inches of snow to fall out of the sky.

A note about planing. Make sure you scour the boards for any metal before running it through the machine. Not only will it ruin your blade set and leave a poor finish, it can be dangerous to send flying metal projectiles through the air. Small metal detectors are available for this very process but I don't do enough of this kind of work to warrant one, so a handy set of pliers and quick hands to the off switch are my method.

After all the boards were cleaned up and ready, I set up my table saw and cut off the shiplap edges. I was able to get all of the beams wrapped choosing the best boards out of the stack we had planed and still have at least 100 feet of boards left over for the next project. I'm thinking the back “wall” of some mud room lockers where we can hang all of our coats and store shoes and accessories, but I think that project will be a bit down the road.

All in all I am really happy with how the beams turned out and it was worth the time in the end. 
(wires sticking out of walls are for lights that will be installed soon)


And a reminder of what we started with
The look is great and it is nice to be able to carry on the tradition of the house by reusing the old boards in a unique way. The custom light boxes I am building now also will feature this reclaimed wood and I am toying with building a custom entry door with the same. More to come on that soon!

Sunday, February 22, 2015

The Bed Post

“I really want to find some antique beds that we can refinish and will last the kids awhile”, were the words from my wife. Sure, I say, why not, there is no reason this isn't a great idea. Never again!

I was so encouraged when Megs called from the road after leaving her favorite furniture shop Adourn. She told me she found the perfect bed and was driving away from it, in some sort of if you love something set it free sort of moment. After telling her to just buy the damned thing she arrived home beaming with joy. Yup, its a bed, I can't get that excited, but it is a nice fit for the boy. She then set out on her quest for another light from the heavens, angelic choir, kitten kisses experience for E. This took a little longer.

Check out the full experience in Meg’s post.

Flash forward and the room is mostly put together and it is time for the little ones to move in so the bed had to be assembled. This should take an hour, my feeble little mind thought at 6pm. F’s bed snapped together how it should and I was feeling optimistic until I realized the wood slatted bed base we bought from IKEA was the exact length of the opening between the two bed rails.  (The slatted bed base is the Luroy from IKEA and allows you to use just a mattress and no box spring). 


Quick sketch on some scratch paper and I was ready to bundle up and head to the shop to make some rail extensions. 
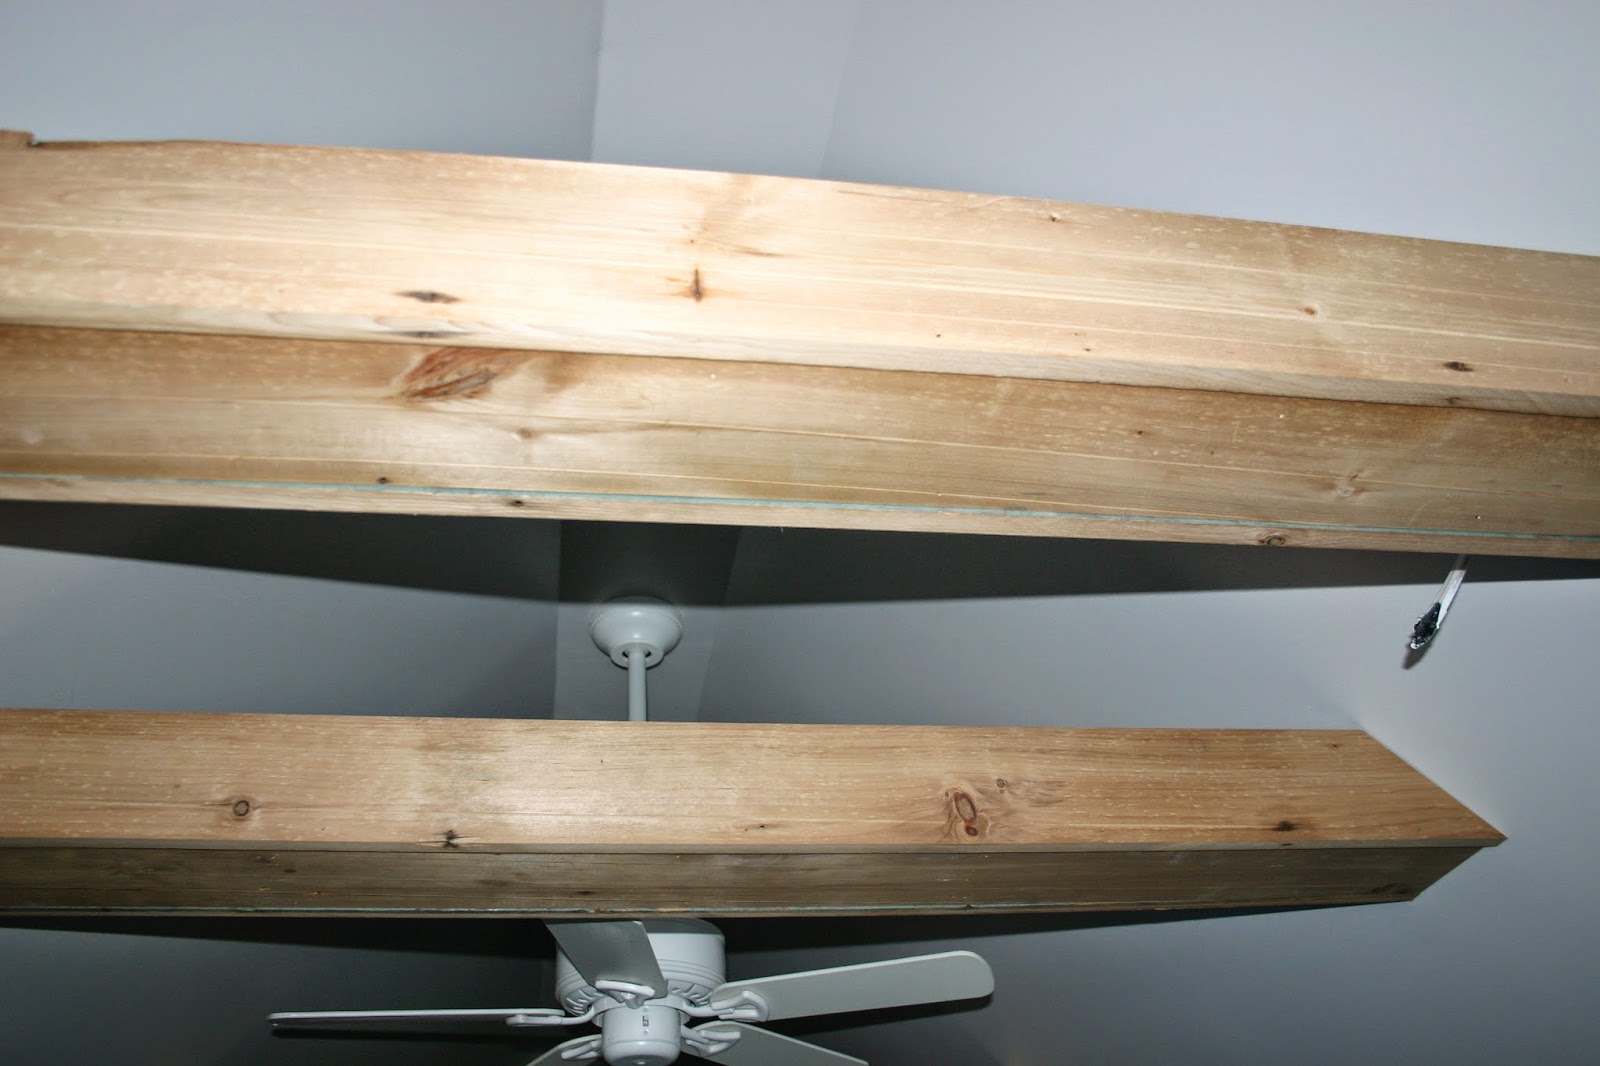
I was able to use some 1x3 material I pulled out of the room ceiling when I deconstructed it. Kreg pocket holes and glue rounded out the attachment method. I used the top rail you see here as a stiffener and also as a spacer so the slats fit tight side to side, with about 3/8" freedom to flex, as is the intended purpose of the rails.

I thought, why don't I attempt to start E's bed so if I need something for that I’ll get it all done at once. What a fool I am.

Some weeks before this assembly debacle started to shape up I chose a night to build some bed rails from scratch, as the $10 head/ foot boards Megs bought didn't come with any. We searched local Goodwill stores and even online to come up empty. I don't know about you but I have cleaned more bed frames out of people houses and seen then on the side of the road more times than I can count. Try looking for a cheap or free one… forget it, they vanish like a giant game of hide and seek and spend a bunch of money for a new one. However we would not be beaten! Megs parents were generously giving us one of their new twin mattresses that they no longer needed along with requisite frame! 

In order to match the style of F’s bed, we decided to create a wood rail look instead of just the plain angle iron we were receiving. The idea was simple… use the bits off the supplied frame to make custom rails to match. I started by measuring F’s rails to match the overall size of the beds together. I primed and painted the wood runners and cut them to the correct length. Next I broke out the angle grinder and set to work dismantling the supplied metal frame. I needed about 6 more inches on the rail length than was originally supplied so I cut pieces from the destructed frame and set to work welding the pieces together. 

A few metal working tips if I may. I always use an abrasive flap wheel over a true grinding wheel when cleaning up edges and removing material. They are lightyears safer and remove material much more rapidly in my opinion. I was a weld shop supervisor for a few years and switched the whole shop over to them and even the salty old welder dogs loved them. Next, when adjoining angle iron at 90 degree interior angles, grind off the edge of the butt end to a 45 degree angle. The parts will fit up much nicer and your joints will be tighter, as shown here. Lastly if you ever have to weld a butt seam as I had to do, use a small chunk of angle iron to hold the two pieces together as you weld. The heat from the weld process will quickly distort your pieces at strangle angles if not clamped, however if clamped and tacked in place once a few seconds to cool passes you will have dead straight parts.

If you wanted to tackle a project like this and you are not lucky enough to have an awesome brother in law to give you a welder, (Thanks Mike!) some simple stiffener plates could be bolted on, but I am crazy remember. All welded and cleaned up I drilled holes along the vertical leg and attached the wooden rail. 

If you have never used a step drill bit get some, they will change you life!

I was now ready to quickly attach the rails to the frame, or so I thought.

E’s bed was a nightmare. The vertical head and foot board legs were too skinny to bolt so I had to make up some supports. All that complete I had to come up with a way to hold the pieces together because now it was after 11 and all my help was sleeping. Braces, spacers, clamps and bolts and finally the bed went together. 


With my improvements, these beds could hold our entire family… should our lives ever come to that. This over engineering often known in our house as the Peterson effect. Sleep tight.


Tuesday, February 10, 2015

$10 ReStore Find to Fabulous Kid’s Bed


Our most recent project- renovating E’s room was kicked into full swing after I stumbled on a fantastic twin bed from Adourn.  I couldn’t leave it behind and couldn’t bear to see it sit in the basement until we redid the room thus beginning our current construction project.

A couple of weeks after purchasing the first bed (which will be F’s), I took the kids up to Winona, Mn and Lacrosse, Wi for some antique shopping hoping to score another twin bed that would complement the one I had.  For the first time in my entire life, I hit gold at the first store I stopped in (after the obligatory stop at Bloedow’s Donuts):  The Habitat for Humanity ReStore in Winona, Minnesota.  I have expressed my love for these stores in a past post when we purchased a bathroom vanity top at one so I won’t get too gushy again but let me just say if you haven’t ventured into one, you are missing out!  It’s truly amazing some of the things you will stumble on at seriously unbeatable prices.  

So there I was, 9 months pregnant with two trailing kids, hands in pockets when I found a WHOLE RACK of bed frames!  After a quick look through, I found the trifecta:  right size, right style and right price ($10!!!).  

The bed did not come with the rails, only a headboard and footboard but I was confident that Andy would be able to Macgyver something up.

I knew that I wanted to paint the bed and decided to try some chalk paint.  I stopped by a craft store in LaCrosse and they had a limited selection of American Decor Chalk Paints.  After conferring with E, we choose a light pink color, Promise.  

I wasn’t 100% sure it would work with the color of F’s bed but decided to give it a go.  I also purchased a jar of American Decor Creme Wax to use for a top coat on the painted bed.  With a coupon I had, the two paint jars plus a big can of stripper came to $20.

Still carrying a Peterson spawn, I passed the job of stripping the old, glossy polyurethane off the bed to Andy.  

The big things to know about using stripper is to do it in a well ventilated space, use drop cloths around the space and apply the stripper liberally.  It’s a messy job but much easier than trying to get polyurethane off with a heat gun.  Using an old brush, Andy put a heavy coat of stripper on the whole headboard.  Right away, the polyurethane starting to bubble up.  Andy then used a scrapper to scrap off the old finish.  It took four coats of stripper to get everything off.  It is important once you are done with the stripper to let the wood rest overnight to dry out any stripper that has seeped into the now bare wood.  

After letting the wood dry, I used 220 and 100 grit sandpaper to sand off any remaining poly and even out the finish.  
Before sanding

Before sanding you can see some remaining globs of poly

It took several passes with the sandpaper and numerous squares of sandpaper but once it was done, the wood was bare and very smooth.  After a wipe down to remove dust, the bed was ready to be painted.

I followed the instructions on the American Decor Chalk Paint and applied two light coats of paint.  
One coat of paint
My between coats trick of saving the brush without cleaning or drying out. I throw the bagged brush in the fridge.

A quick fast forward through dry time and I wasn’t happy with the color.  It wasn’t an offensive color or anything but just kind of a… blah, non color… somewhere between pink and grey.  

Back to the drawing board, I choose a rose pink:  Faded Courtly Rose from Walmart’s color line color matched in Glidden Satin paint. 


I still wanted to try a chalk finish but can’t get chalk paints in town so I decided to make my own.  I found a few “recipes” online but decided on one from lowes.com- mostly because I could get all the ingredients around town.  The supplies needed were:

Latex Paint (I got a quart of satin finish)
Stir Stick
Mixing bucket (I bought an empty quart paint can from the hardware store)
Plaster of Paris
Water

I mixed 1/3 cup of plaster of paris with 1/3 cup of cool water in the empty paint can and stirred until it was smooth.  


I then mixed in 1 cup of the latex paint and stirred it until it was completely mixed in.  

FYI- once I was done with it, I put the paint can lid on and stored it.  We used it again a couple of weeks later and all it needed was a quick stir and it worked great again!

Paint mixed, I applied two thin coats to the headboard and baseboard.  
one coat


two coats
When doing distressing, thin coats are best so the finish is smooth and it is easier to sand off paint to make a worn look.  Once the paint was completely dry, I used 220 grit sandpaper and sanded (with the wood grain) in areas that would naturally wear over time.  

My light pink paint snafu actually ended up being a good thing because the places that I sanded the rose pink paint then allowed the light pink paint to show through which really complemented the rose color.

After wiping away any dust, I applied the American Decor Creme Wax.  This is applied in thin coats with a clean, lint-free rag.  

If applied lightly, it dries in less than 30 minutes than can be buffed with another clean, lint-free rag to give it a little shine.  When I used this product on the kid’s dresser, I found that you could see rag strokes so it was better to rub with the wood grain and not in circles.  For furniture that will get a lot of use or might get wet/dirty, it is better to use a harder finish like a satin polyurethane.  

Andy installed casters to make the bed a bit higher so the footboard wouldn’t be sitting right on the ground.  Using salvaged metal bed rails and scrap wood, Andy built bed rails.  

When I bought the bed, I knew that I wanted to change the footboard a little to make it softer and to match the look of F’s bed.  Using this picture for inspiration, I drew a design on the bottom of the footboard so it would no longer be straight across.  To create a symmetrical design, I first marked the center of the footboard and used a ruler to create a straight line where the top of my design would be.

Starting at the center, I used my round quilting ruler to create the first round edge.  

If you don’t have a round ruler, do a scavenger hunt around the house for a circle object the size you want for the curve and trace it.  I then traced the curve and created a template to trace for the next curve section.

From here, I measured the space I had left- 10” and marked the middle (5”).  

I freehanded a curve from the edge to the top of my 5” mark and back down to the curve I had already created.  

I then traced this whole side on transparent paper, cut the curve then taped it to the other side of the bed and traced the curve.


Finished design
Unconfident in my jigsaw abilities, especially on a craved design I sent Andy out to the shop to cut the design out.  He used a jigsaw to trace my lines then buffed the edges.

Finally done, we put the entire bed together.


I love the sweet pink color and how delicate the bed looks with the decorated footboard.  Perfect for our girly 4 year old.  Together in the room, the two beds compliment each other beautifully in color and design.  The perfect mix of masculine and feminine in a shared bedroom.  I am in love and the kids are both thrilled with their grown-up beds.