As Andy is feverishly trying to finish mudding, taping and sanding the drywall so we can get to painting the walls, I am working on some of the furnishing in the room. Our hope is to get E and F moved back into the room before baby #3 makes his appearance… which could really happen any day at this point.
 |
| Just baby bumping it while I blog at the kitchen table |
A little sneak peak- the room currently looks like this.
Admittedly, kind of a disaster but really exciting considering we started with this 2 1/2 years ago.
And have been living with this for 2 years.
Which looks a hell of a lot better than what we started with but considering the paneled walls could be easily pulled at the seams and there was little to no insulation in the walls, the room still needed some serious work.
Our original plan for the room was to do a built-in dresser and bookcase on the same wall as the door. Right now, time/budget concerns have put this off so I came up with a plan to use the existing dresser in the room and add some pizzaz to it plus a custom bookcase built on top. I am not skilled at coming up with ideas completely on my own so I hit the internet- mostly Pinterest to bring my idea to fruition. I found two perfect pictures that sparked the lightbulb.
Step one of the dresser redo is adding some pizzaz with a custom paint job. This dresser is a hand-me-down antique dresser.
It is still in great shape- very study and well built but has several scratches and worn areas after living a long and fruitful life.
I have been experimenting in furniture painting after discovering an amazing store in Chatfield, Mn, Adourn. I am not a large-item impulse shopper in general but it seems that every time I walk into the shop, I leave with an unexpected furniture piece such as my recent buy of F’s bed. I went to a basic painting class a year ago at the store and was bitten by the furniture painting bug.
The color scheme of the kid’s room is inspired by a piece of fabric that I will be using as the background of two twin quilts I’m making for the kid’s beds.
Out of the fabric, I chose a great spring green to paint the dresser with. The color really complements the dresser’s stain and is pretty gender neutral (which is good since the room will be shared by our 4 year old daughter and 2 year old son). The green is “Ryegrass” by Behr which I got a quart of satin in color-match Glidden paint + primer.
I started by sanding the top of the dresser with 100 grit sandpaper, sanding by hand in the direction of the grain of the wood.
After wiping all the dust off, I taped the edge of the top lip with FrogTape.
Painting with the grain in long stokes, I used an angle brush to paint the top of the dresser.
 |
| One coat of paint |
I kept my paint pretty thin knowing I would be using a few coats to prevent any drips. Waiting for dry time in between coats, I painted the top with three light coats of paint.
In between coats of the top of the dresser, I worked on the drawers. I wanted to create a chevron design on the top and bottom drawers. First step was taking off the original hardware which you wouldn’t think would be challenging but after slitting my finger open on a piece of metal that sheared off the screw, I called in my expert to give me a tip. Put the flathead screwdriver in the screw, tap it down a bit with a hammer and presto, screw will actually turn.
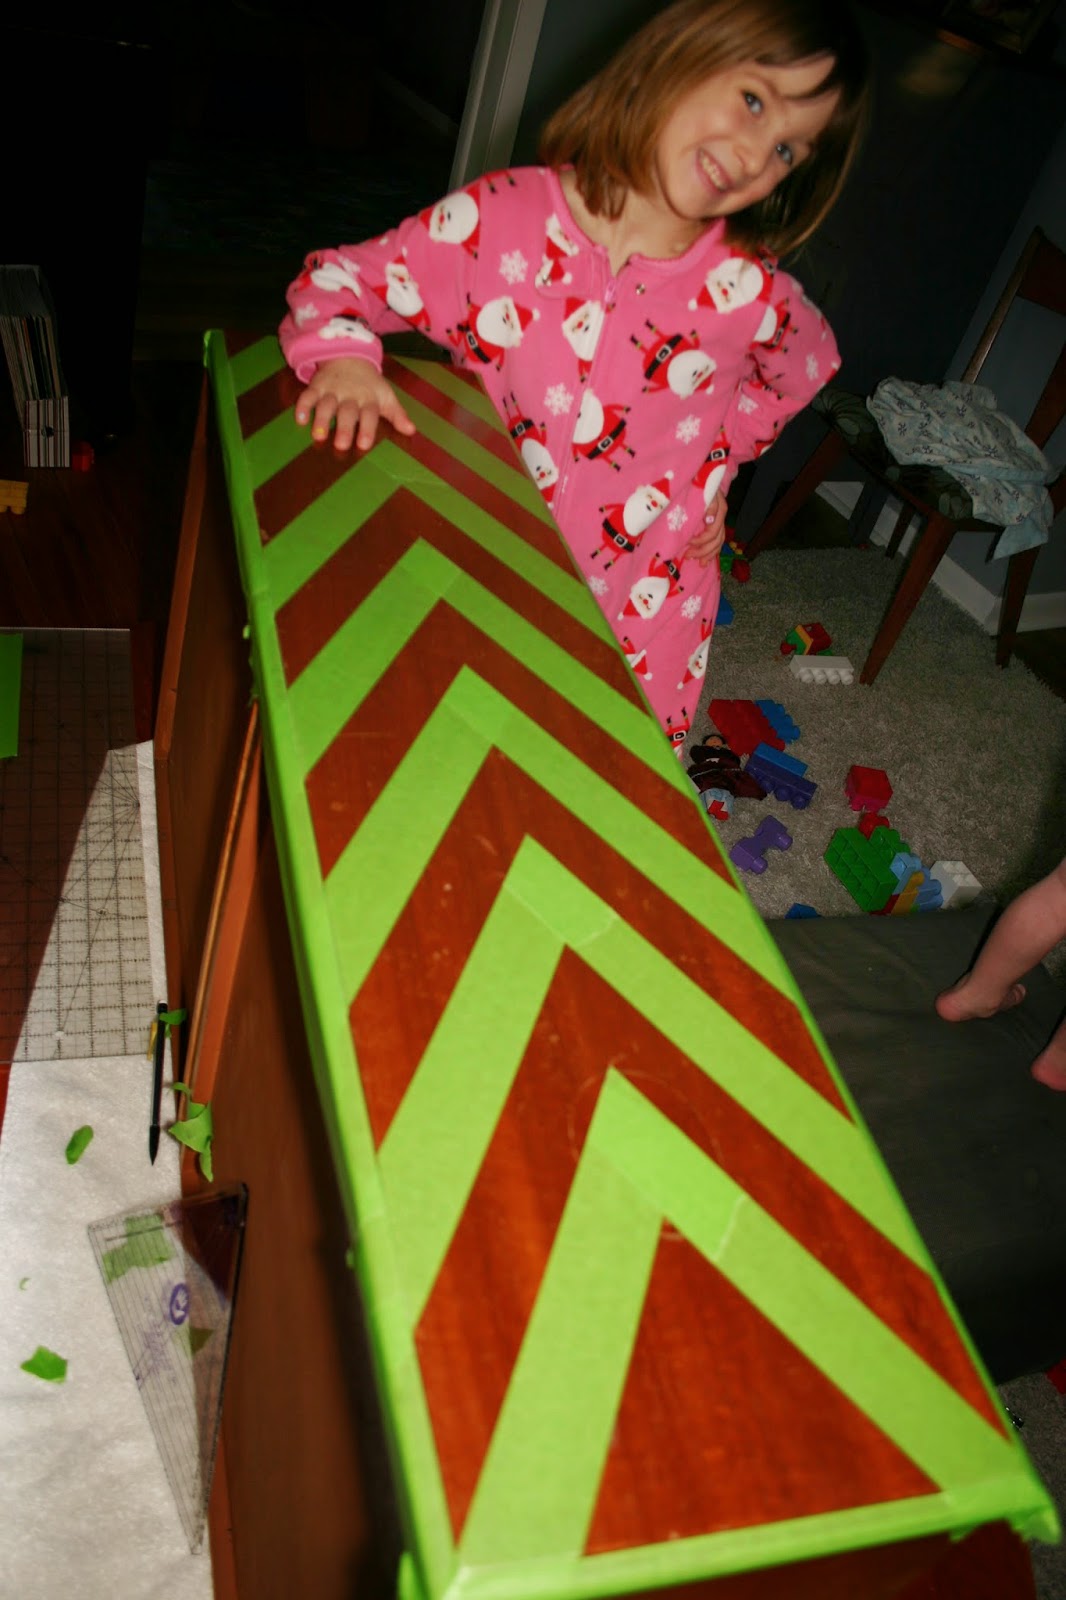
To create the chevron design, I used FrogTape to cover the areas of the drawer that would remain bare wood. First, I measured the height of the drawer, divided it by two and drew a pencil line straight down the middle of the drawer (length-wise). This line would be where my triangle points met. Setting my first line was the hardest, but I used a triangle ruler from my quilting kit to determine my angle (60 degrees) and make sure it lined up with the center line I drew.
I used a pencil to mark the two sides of the triangle. Using 1.41” FrogTape, I followed my triangle lines to lay my first triangle. At the peak of the triangle, I used a straight edge and box cutter to cut the tape into a peak (which lined up with my original center pencil line).
 |
| Cutting excess to get a crisp peak |
Now that my first triangle was set, I placed a piece of FrogTape on my clear straight edge to use as my measuring device for the rest of the angles. For each triangle, I placed my flat edge along the previous piece of tape, using the tape on the flat edge as my guide.
 |
| The top tape is what I stuck to the ruler; right below it you can see through the ruler the tape line that is stuck to the drawer. Pencil mark was drawn on drawer following ruler above top tape line. |
I then traced the new edge with a pencil to my middle line creating perfectly spaced angles along the whole dresser.
 |
| Tape ready to go with my dresser model |
Once the entire design was laid out, I sanded the areas showing bare wood so the paint would stick better.
 |
| Sanded |
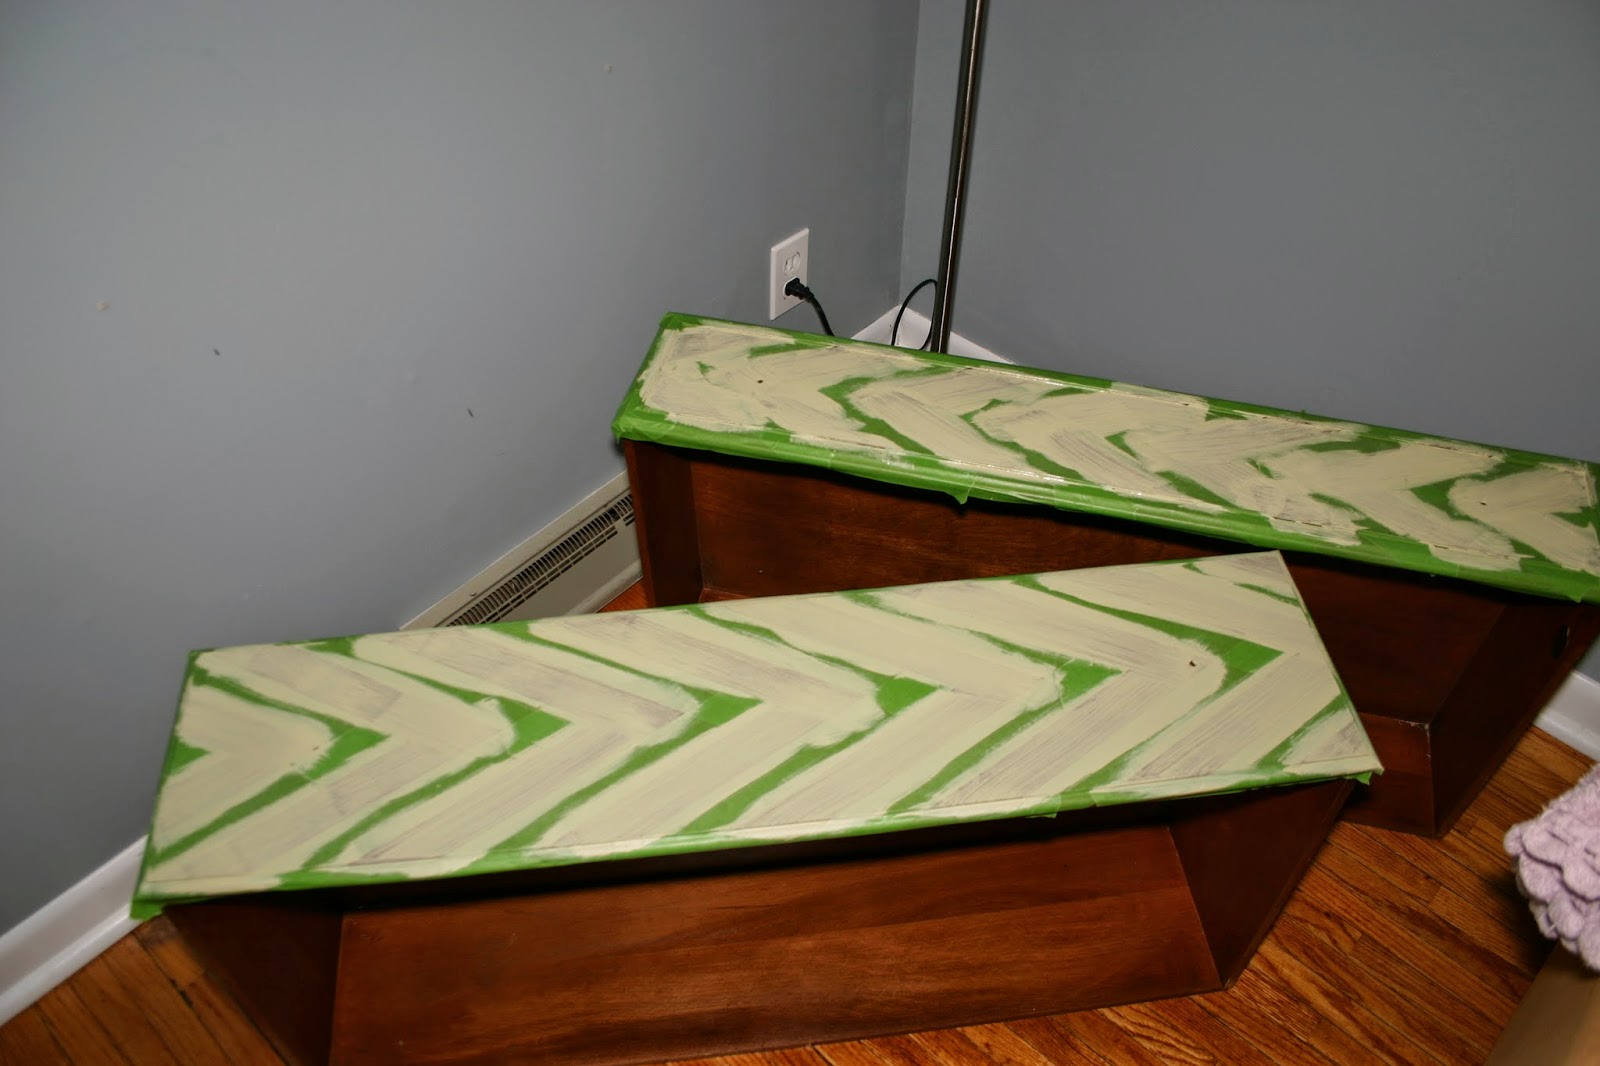
I painted three light coats, waiting for the paint to dry in between coats.
 |
| 1-2 coats of paint |
The instructions on the FrogTape recommend removing the tape before the paint is completely dry. I followed these directions with pretty mixed results. I think I need to work with Andy on inventing a painters tape that actually does everything it says it will. I had to remove the tape VERY slowly, making sure I took it up evenly to prevent any paint from peeling with it. The places I had the most difficult time with peeling paint were at the triangle peaks. Overall, this tape bled less than blue painters tape I have used in the past, but I still had issues with bleeding where the drawer lip cut into the design.
 |
| Looking at the edges, you can see a bit where the paint bled past the tape |
Once the tape was removed, I used my box cutter to carefully scrape any places that the paint bled through the tape.
 |
| Bleeding removed |
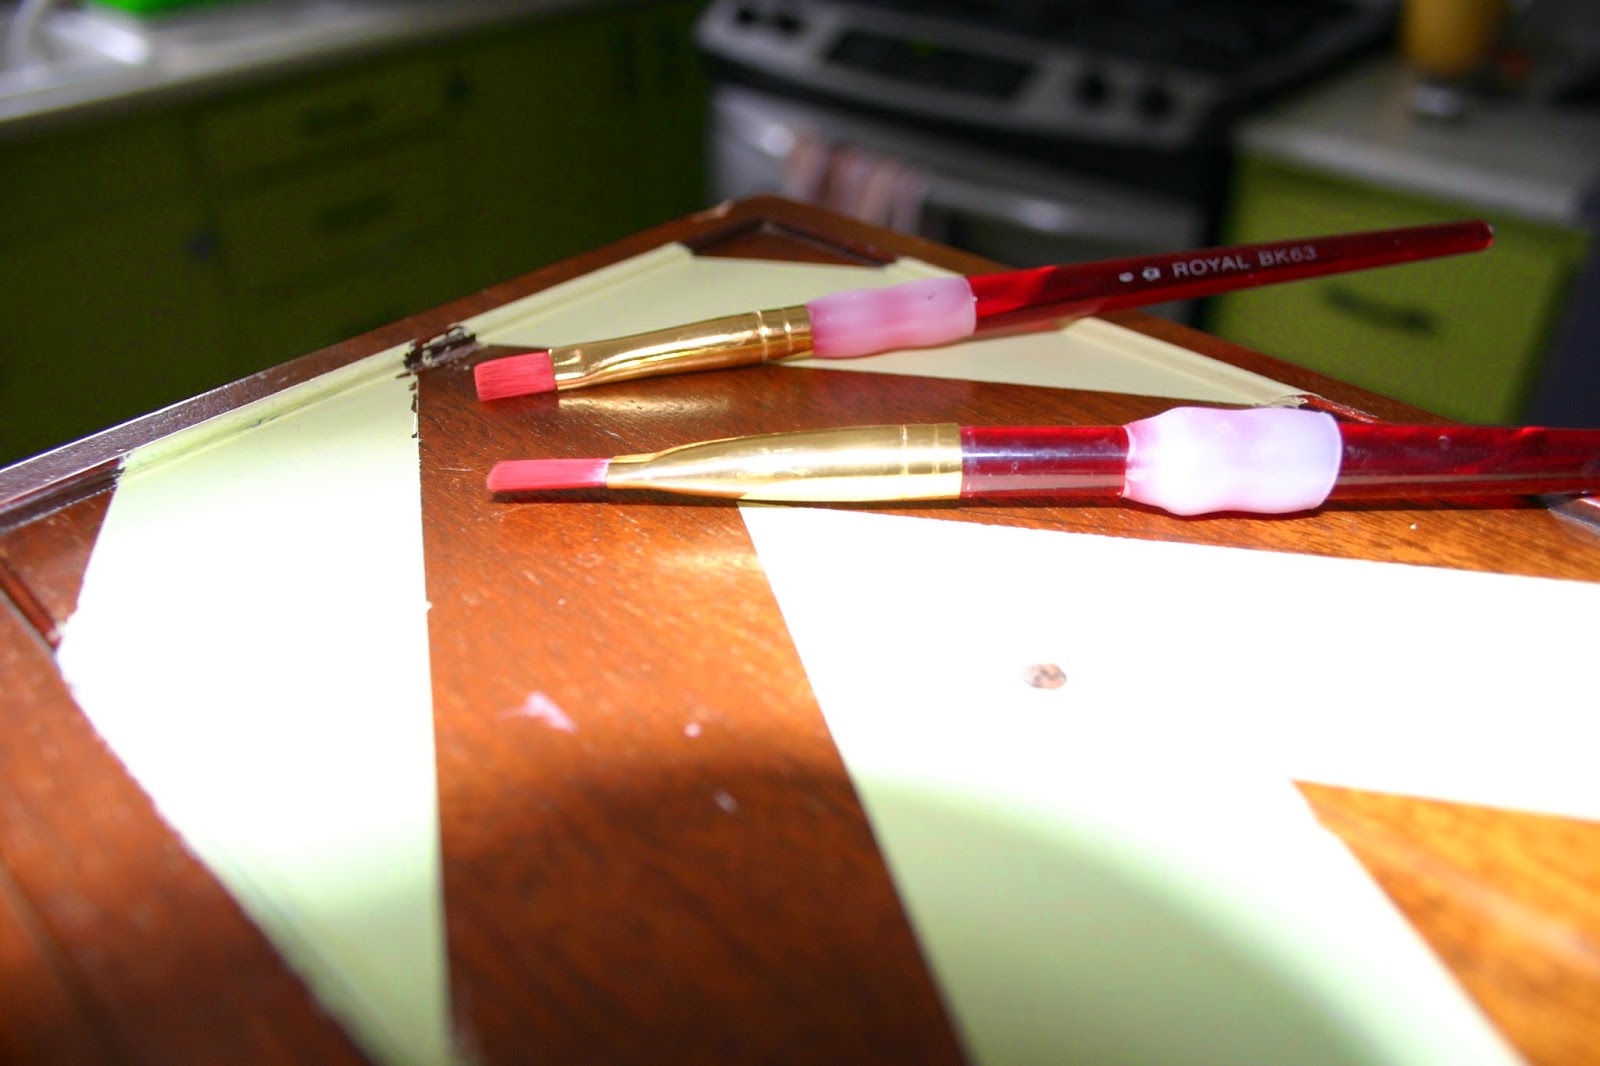
I also went through with one of E’s paintbrushes to fix any places that had peeled when the tape was removed.
 |
| You can see a spot at the peak that peeled with the tape |
Paint totally dry, I decided to give the whole piece a distressed looked by hand sanding. I first used a 220 grit sandpaper but then upped to a 100 grit when the 220 wasn’t making a big difference. I sanded down to bare wood in places that would normally see wear-and-tear like the edges and corners, trying to give a natural, worn look.
 |
| Distressing on edges of dresser top |
 |
| Some distressing on the drawers |
This is definitely the step that I am most uncomfortable with and still experimenting. I keep telling myself that if I take off too much or don’t like the look, I can always repaint but it is hard to sand off work that you just did!
After I was happy with the distressed look, I decided to try a wax product- Creme Wax by Americana.
Finished pieces should be sealed somehow either with a wax or varnish. Varnishes usually give a harder finish that is good for something that will get a lot of wear and tear or get wet (such as a vanity). Wax is a little less durable but gives a nice sheen look, rather than gloss. It can be buffed to desired sheen and reapplied at any time. I have used furniture wax on pieces before but found this Creme Wax when I was picking up Chalk paint for E’s new bed.
The directions on the container are pretty vague but the website gives a few more tips and a video that was helpful. The consistency of the Creme is almost like lotion as opposed to a harder wax. I did not have a special wax brush, nor the inclination to purchase one so I used the second option, a dry, lint free rag to apply.
I applied with the grain of the wood in light layers, wiping off any excess that gooped in corners.
 |
| Looking to the right of the Creme Wax container, you can kind of see where I have applied wax and where I haven't. Definitely adds some richness to the paint. |
It dried very quickly so I applied two thin coats. After the second coat dried (again, this took 30 minutes or less), I used a white, smooth cotton rag to buff the piece. Buffing is not required; no buff leave a very matte looking piece. I decided to buff a bit in hopes of smoothing out any sanding and waxing lines.
In the light, it is a pretty noticeable difference between buffed and non-buffed areas. I tried buffing with the grain as well as in circles and preferred the with-the-grain look since you can kind of see stroke marks in the wood/paint.
Finally, I screwed the original hardware back onto the drawers, with new non skin cutting screws and Viola! Updated dresser perfect for a kids room!
Once Andy is done with the room and we get the dresser moved back in, "we" will work on building a bookcase on the top creating one, cohesive unit. I can't wait!


