Although she might not think so, Megs IS a champion gift giver. She not only listens to my ramblings throughout the year, she is capable of off shooting from my main idea and coming up with brilliant sub gifts in the same vein. This years Christmas... lumber yard scented beard oil, a 6 way photo light panel and a new bike helmet. A little random but damn if she didn't nail 3 awesome gifts. The outdoor shower, however, is her crowning achievement. Even through her plumbing was piped to near freezing well water, the thoughtfulness and mechanical achievement was awe inspiring. Read about her outdoor shower design here.
 |
| I did try it out immediately with freezing hose water |
 |
| My two assistants helping me mix concrete in their wheelbarrow |
The next goal was to plumb hot water. The spot Megs chose was perfect because in addition to being over the old cistern, it was very close to the hot water heater and subsequent plumbing in the basement. I headed to the store to pick up some Sharkbite T fittings, exterior hose barbs, and 1/2" fittings and pipe to match what Megs had constructed. We had just recently bought a new washing machine for our rental house in Illinois so I had an extra set of rubber water supply lines that would be perfect for joining the shower to the house.
 |
| Easy hose connections |
Once cleaned and teflon taped up, all the pipes and valves were ready for pre-assembly. I finished the installation step by using metal pipe hangers/ straps to attach the plumbing to the support pole.


The next step was to tap into the basement plumbing and run lines to to the outside of the house. The plumbing in our house is a mix of copper, black pipe and PEX (thanks to me), but luckily the area that was most convenient to tap into was copper. I made quick work of cutting and installing the Sharkbite fittings, however getting water through the old sill was going to be a challenge.

I had purchased a 3/4" spade bit for a past plumbing project and was able to utilize the right angle head attachment on my Rigid Jobmax to get up between the joists with little difficulty.
 |
| Due to space constraints, I had to drill as far as I could and then add an extension |
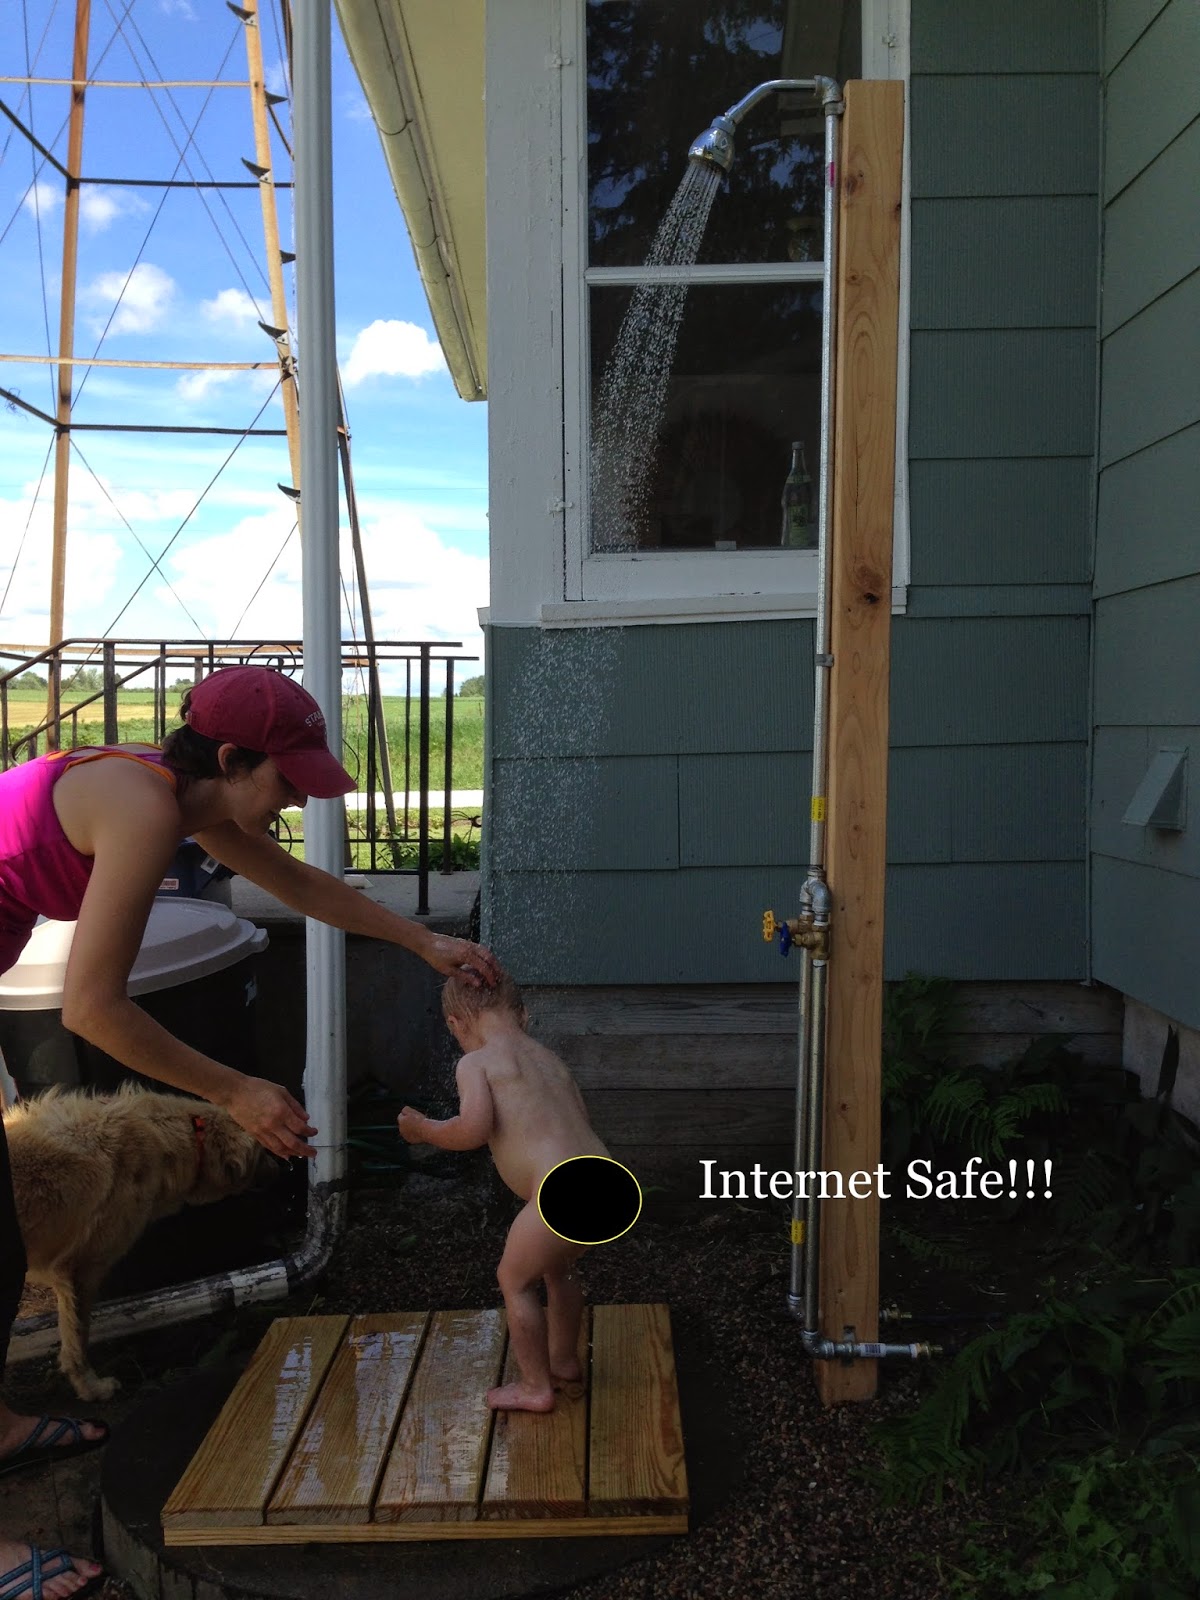
Ah well, nothing that can't be patched with some caulk and paint. I then finished connecting the two new hot and cold hose bibs to the T Sharkbite fittings inside through the sill and tested the connection. With pressure holding and no leaks, the only thing to do was get naked! I was initially planning to make a screen for it but due to geography and a well placed pine tree, there is enough notice of a car coming down the road from the north to at least grab a towel as they pass. When I shower at night I don't even bother.
After a week of showers, I realized it that the waste water wasn't really making it down into the cistern as much as creating a muddy mess of the surrounding grass. Also, standing on a rusty metal cistern cover wasn't that comfortable so I created a small deck. I had a couple of pressure treated 5/4 x 6 deck dotards left over from Megs raised garden box project so I set to work. The metal cistern cover is 2' diameter so I decided to make the deck 30" square which would span the opening allowing me to leave the cover completely off.


I used Tap-cons to secure the desk to the cistern so there would be no possibility of our curious little ones moving the deck and taking a swim.

I want to do this at the cabin but I’m not sure how to have the waste water drained any suggestions?
ReplyDelete