Sunday, March 22, 2015

The Outdoor Shower 2.0

This is one of those posts that I have been saying I need to update for a while, and per typical fashion have not. The time has come not just because the weather is now permitting me to use it yet again but I am laid up on the couch for the next three days after, dare I say, a necessary but uncomfotable procedure that stops the spread of the Peterson name any further in these parts.  If you chuckle and wink at me the next time we meet I'll know you read this post.

Although she might not think so, Megs IS a champion gift giver. She not only listens to my ramblings throughout the year, she is capable of off shooting from my main idea and coming up with brilliant sub gifts in the same vein. This years Christmas... lumber yard scented beard oil, a 6 way photo light panel and a new bike helmet. A little random but damn if she didn't nail 3 awesome gifts. The outdoor shower, however, is her crowning achievement. Even through her plumbing was piped to near freezing well water, the thoughtfulness and mechanical achievement was awe inspiring.  Read about her outdoor shower design here.

I did try it out immediately with freezing hose water

It was so inspiring I immediately took the whole thing apart and re-plumbed it so a mammal not solely suited to the arctic could enjoy it. My first task was setting the 4x4 support in concrete to add stability. I was able to dig down about 2' until I hit the top of the bell shaped cistern and could go no further. A little rock in the bottom of the hole  to level out the 4x4 and 2 bags of fast setting Quik-crete completed item number one.

My two assistants helping me mix concrete in  their wheelbarrow

The next goal was to plumb hot water. The spot Megs chose was perfect because in addition to being over the old cistern, it was very close to the hot water heater and subsequent plumbing in the basement. I headed to the store to pick up some Sharkbite T fittings, exterior hose barbs, and 1/2" fittings and pipe to match what Megs had constructed. We had just recently bought a new washing machine for our rental house in Illinois so I had an extra set of rubber water supply lines that would be perfect for joining the shower to the house.

Easy hose connections

Once cleaned and teflon taped up, all the pipes and valves were ready for pre-assembly. I finished the installation step by using metal pipe hangers/ straps to attach the plumbing to the support pole.


The next step was to tap into the basement plumbing and run lines to to the outside of the house. The plumbing in our house is a mix of copper, black pipe and PEX (thanks to me), but luckily the area that was most convenient to tap into was copper. I made quick work of cutting and installing the Sharkbite fittings, however getting water through the old sill was going to be a challenge.


I had purchased a 3/4" spade bit for a past plumbing project and was able to utilize the right angle head attachment on my Rigid Jobmax to get up between the joists with little difficulty.

Due to space constraints, I had to drill as
far as I could and then add an extension
My biggest concern was chipping or breaking the exterior siding which is an old slate style fiber board...aka nightmare plates as I think of them. When I re-sided the house a few years ago I tried various techniques to drill through is stuff and make a clean hole without cracking the whole plate. Without a masonry style hole saw it is nearly impossible. I didn't want to spend ~$50 for the size I needed so I set to work with a regular bi-metal hole saw, some water and very minimal pressure. The first hole went off without a hitch... or crack. Then I got cocky and cracked the plate on the second hole. AHHHH!

Ah well, nothing that can't be patched with some caulk and paint. I then finished connecting the two new hot and cold hose bibs to the T Sharkbite fittings inside through the sill and tested the connection. With pressure holding and no leaks, the only thing to do was get naked! I was initially planning to make a screen for it but due to geography and a well placed pine tree, there is enough notice of a car coming down the road from the north to at least grab a towel as they pass. When I shower at night I don't even bother.

After a week of showers, I realized it that the waste water wasn't really making it down into the cistern as much as creating a muddy mess of the surrounding grass. Also, standing on a rusty metal cistern cover wasn't that comfortable so I created a small deck. I had a couple of pressure treated 5/4 x 6 deck dotards left over from Megs raised garden box project so I set to work. The metal cistern cover is 2' diameter so I decided to make the deck 30" square which would span the opening allowing me to leave the cover completely off.


I used Tap-cons to secure the desk to the cistern so there would be no possibility of our curious little ones moving the deck and taking a swim.

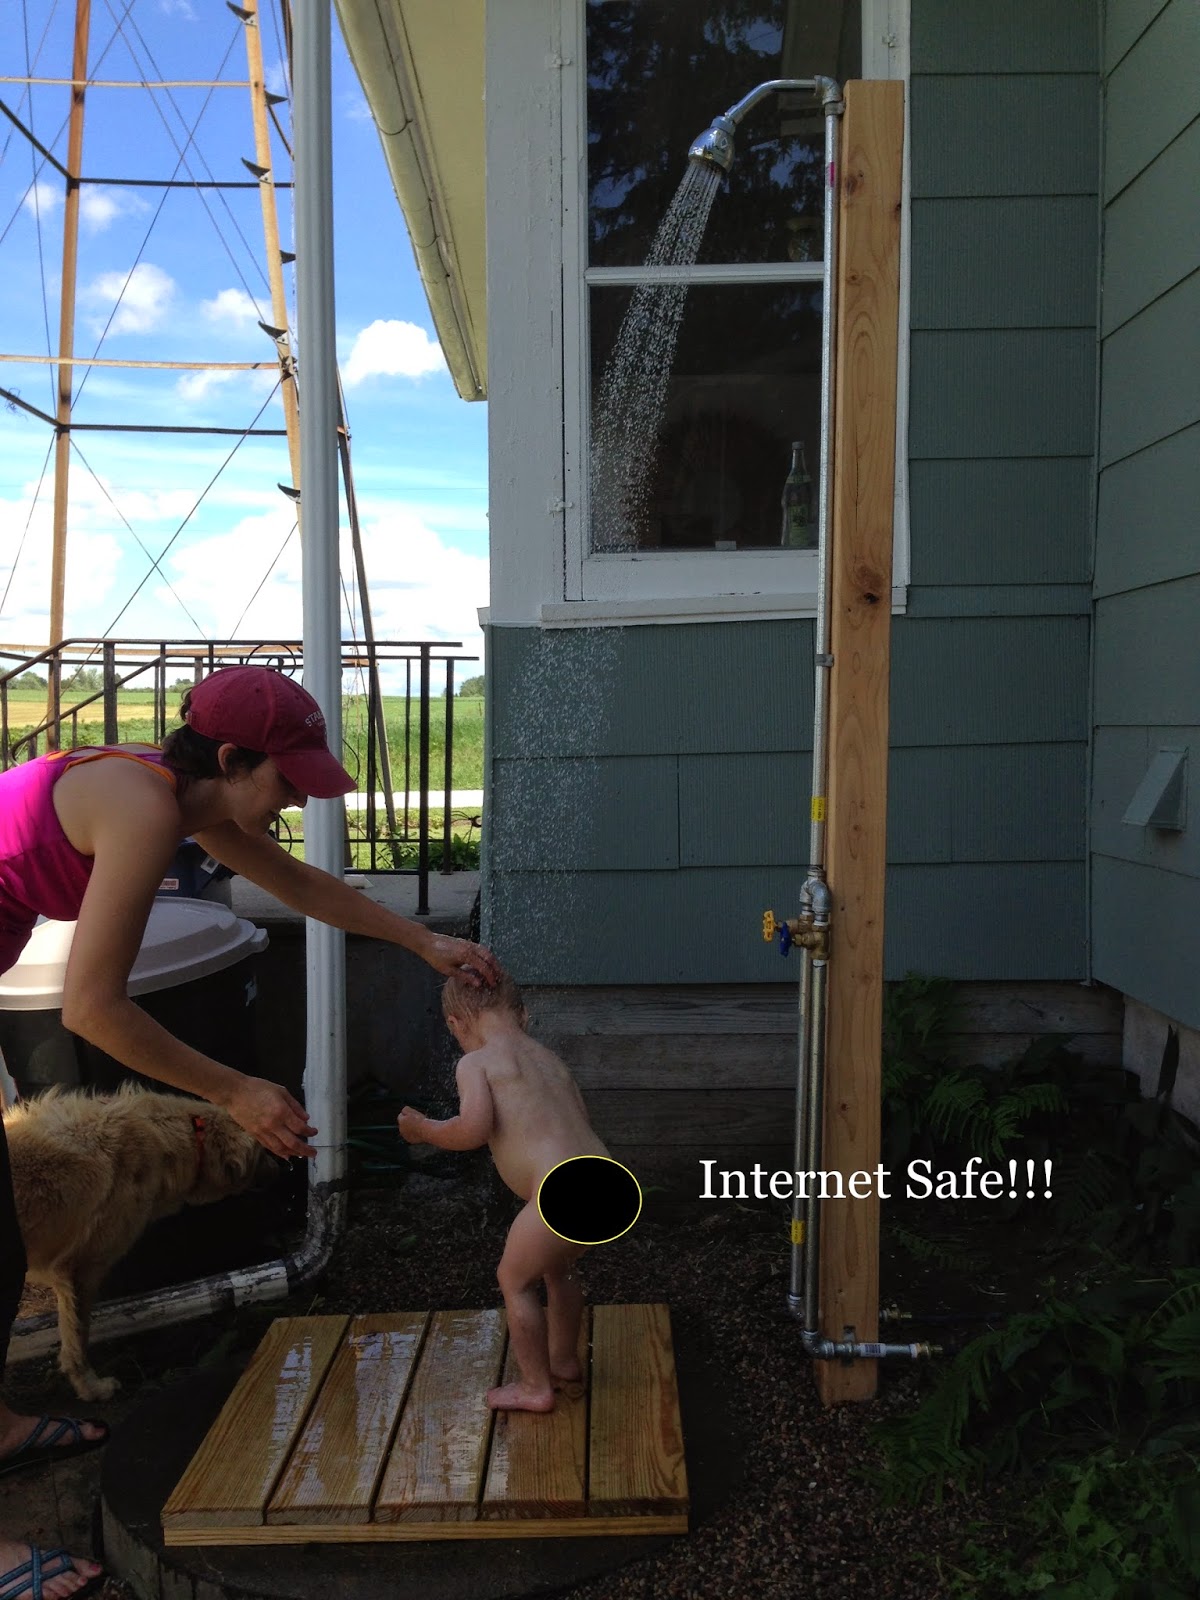
We use this shower every single day and I really had a hard time moving my cleaning rituals in the house this winter. It is a rush to have freezing rain and snow come down on you at the same time as steamy hot shower water. I can only picture potential home buyers reactions to this amazing sight. I can imagine a woman wondering who in their right mind would use such a thing without a privacy screen as a man starts to undress in the background all ready to try it out.


Monday, June 16, 2014

Our DIY Outdoor Shower: The Basic Model

I wouldn’t say I’m a champion gift giver for Andy but I try to notice things he mentions throughout the year and mark them down so when a holiday approaches, I have some ideas.  During the two summers we have lived in the house, Andy has mentioned countless times how much he wanted an outdoor shower to cool off in after a long day of working outside.  This spring, I decided I would start researching options so I could surprise him for Father’s Day.  Luckily, I found a fantastic resource that I pretty much followed completely:  http://www.bobvila.com/articles/2486-how-to-make-an-outdoor-shower/.

One of the hardest tasks of this project for me was just buying the supplies.  I had my list, straight from Bob Vila’s directions and charged into Menards with my two “helpers”.  I knew I needed to be in the plumbing section for most of the items, but beyond that I didn’t even really know what I was looking for.  Thankfully, staff members pointed me to the correct items and after an hour or so of collecting the things off my list, I finally had everything.  

MATERIALS AND TOOLS 
**On the website, the materials and directions include building a deck base to stand on.  I didn’t build one so I have taken this out of the materials and my directions.
One 8-foot lengths of 4″ x 4″ lumber (cedar, redwood or pressure-treated are best) 
Decking or galvanized wood screws 2-1/2″ 
Outdoor wood sealer 
Post hole digger 
Quick-drying concrete 
Pea gravel or small stones 
Shower head 
1/2″ threaded shower arm 
1/2″ galvanized pipe in threaded lengths of 48,” 24″ and 6,”  along with two 90° elbows 
Nylon plumbing tape 
Four 1/2″ pipe straps 
1/2″ threaded faucet 
Electric drill and 5/8″ spade bit 
Garden hose and outdoor spigot

The day before I planned to make the shower, I gave the 4"x4" a coat of polyurethane to seal it a bit better.  I didn't use exclusive outdoor stuff because I had a leftover quart of the regular stuff in the basement.


We have lots of spaces to put an outdoor shower, but I settled on a spot on the north side of the house, nestled next to the screened in porch.  This spot was unused as of yet, with the exception of housing some garbage cans and had the added bonus of being the home of the old well.  

The cistern was still there with a cover so I figured this was a good spot to let the water run into.  I cleared out the random weeds and bulbs around the cistern and began digging the 12” deep hole for the pole. 

I put the plumbing together in the following order: 
Shower head- shower arm- 90 degree elbow- 

48” length- faucet- 24” length- 


90 degree elbow- 6” length.  


used nylon plumbing tape at each joint.  This was the most time consuming part of the project- I didn’t have enough strength to get the joints tightened down and had trouble getting a pipe wrench secured to tighten.  Also, the shower head, faucet and 90 degree elbows need to line up, causing more difficulty.  After lots of time and several words that E responded with, “Mommy, **** is a bad word”, I finally had everything tightened and straightened.

Using a 3/4” spade bit, I drilled a hole in the 4”x4” board 6” above the ground.  

When I tried to put the 6” pipe through the hole, I realized it still wasn’t big enough and went back with a 1” spade bit.  This did the trick and I put the 6” pipe through the hole.  

The pipe straps I got were not the right ones, so I found a roll of pipe strapping in Andy’s shop and used this to secure the shower to the 4”x4”.  I secured at the top, above the faucet and above the bottom elbow with 2-1/2” decking screws.


I put the 4”x4” into the pre-dug hole and filled it in with dirt after using a level to straighten it.  I didn’t use concrete because I wanted to make sure Andy was ok with the spot- he went back later and dug the hole a bit deeper and filled it with concrete to secure the pole.  

I attached a coupler to the back of the 6” pipe and a hose to this.  The hose was attached to a y-splitter on our outdoor spigot.  The shower worked on the first try!

I would say the difficulty level of this project is easy- I think if I can manage it, pretty much anyone can.  If you don’t build a base, the only tool you really need is a drill which is a must have for any home owner.


Andy was surprised and super excited when he saw his gift.  He was extremely impressed by my amazing plumbing skills.  As expected, he spent the rest of Father’s Day weekend “Andy-fying” the shower, connecting it to hot water but I expected he would do that and just wanted to give him a jumping off point.  Andy and the kids have had a great time christening it after playing and working outside all day.  I don’t expect to get any of them back inside for showers until winter comes.


UPDATE 3/21:  Andy modified this shower so it now gets hot/cold water from the house.  Read about this update here.