Though the home was originally built in the 1800s (we found newspaper insulation in the bathroom dated 1895), it was updated in the 1970s. Though this update unfortunately removed most of the original farmhouse charm, it did update plumbing, electrical and insulation. More recently, major systems like heating and septic were updated. This made us confident that as we torn into walls and floors, we would need to do minimal fixing of these more expensive things.
So, 2 1/2 years later, here is some of the progress we have made and some things we would still love to do.
Exterior Before:


- Removed the old siding on 2nd floor and put in board and batten
- Painted upper board and batten (Raindance by Benjamin Moore color-matched by Sherwin Williams) and lower siding (Rushing River by Benjamin Moore color-matched by Sherwin Williams)
- Removed chimney on left side of house
- Ripped out and rearrange garden beds
- Created a gravel walkway and widened the driveway
- Removed (by accidental fire) the garage and prepped area for seeding
- Painted deck with Behr Deck Over
Things we plan to do:
- Take out the entrance concrete stairs on south side and replace with a larger deck
- Add shutters to front windows
- New gutters


Things we have done:
- Built-in storage
- Painted all walls and trim white
- Removed coat hooks
- Painted ceiling blue (Flint Smoke by Behr)
Things we plan to do:
- Repair all screens
- Replace light with fan/light
- New door from interior to exterior
- New exterior door
Kitchen Before:

Kitchen Progress:


Things we have done:
- Removed curtains
- Painted ceiling white
- Painted walls (Flint Smoke by Behr)
- Painted cabinets (Spanish Olive by Glidden)
- Painted handles black
- Removed paint from hinges (previous owners had painted all 30 of them faux wood!)
- Replaced light (can't see it here but we got a great one!)
- Replaced fridge (took this from our old house)
- Replaced stove (took this from our old house)
- Painted all trim and windows white
- Painted doors (Natural Linen by Glidden)
- Removed carpeting and painted stairs
Things we plan to do:
- Rip-up linoleum and refinish hardwood (we hope is still under)
- Tear down wall leading to dining room and move stove
- Build a peninsula or island
- New counter tops (thinking wood or concrete...)
- New blackspash (hard to see but the blacksplash now just continues from the counter tops)
Dining Room Before:

Dining Room Progress:


Things we have done:
- Painted ceiling white
- Painted walls blue (Flint Smoke by Behr)
- Took down blinds
- Painted trim and windows white
- Painted door (Natural Linen by Glidden)
Things we plan to do:
- Open up wall from kitchen
- Rip-up linoleum and replace with hardwood same type as under kitchen floor
- New light fixture
- Bigger Ideas: Expand 4-6 feet to south side (big wish)
Living Room Before:

Living Room Progress:


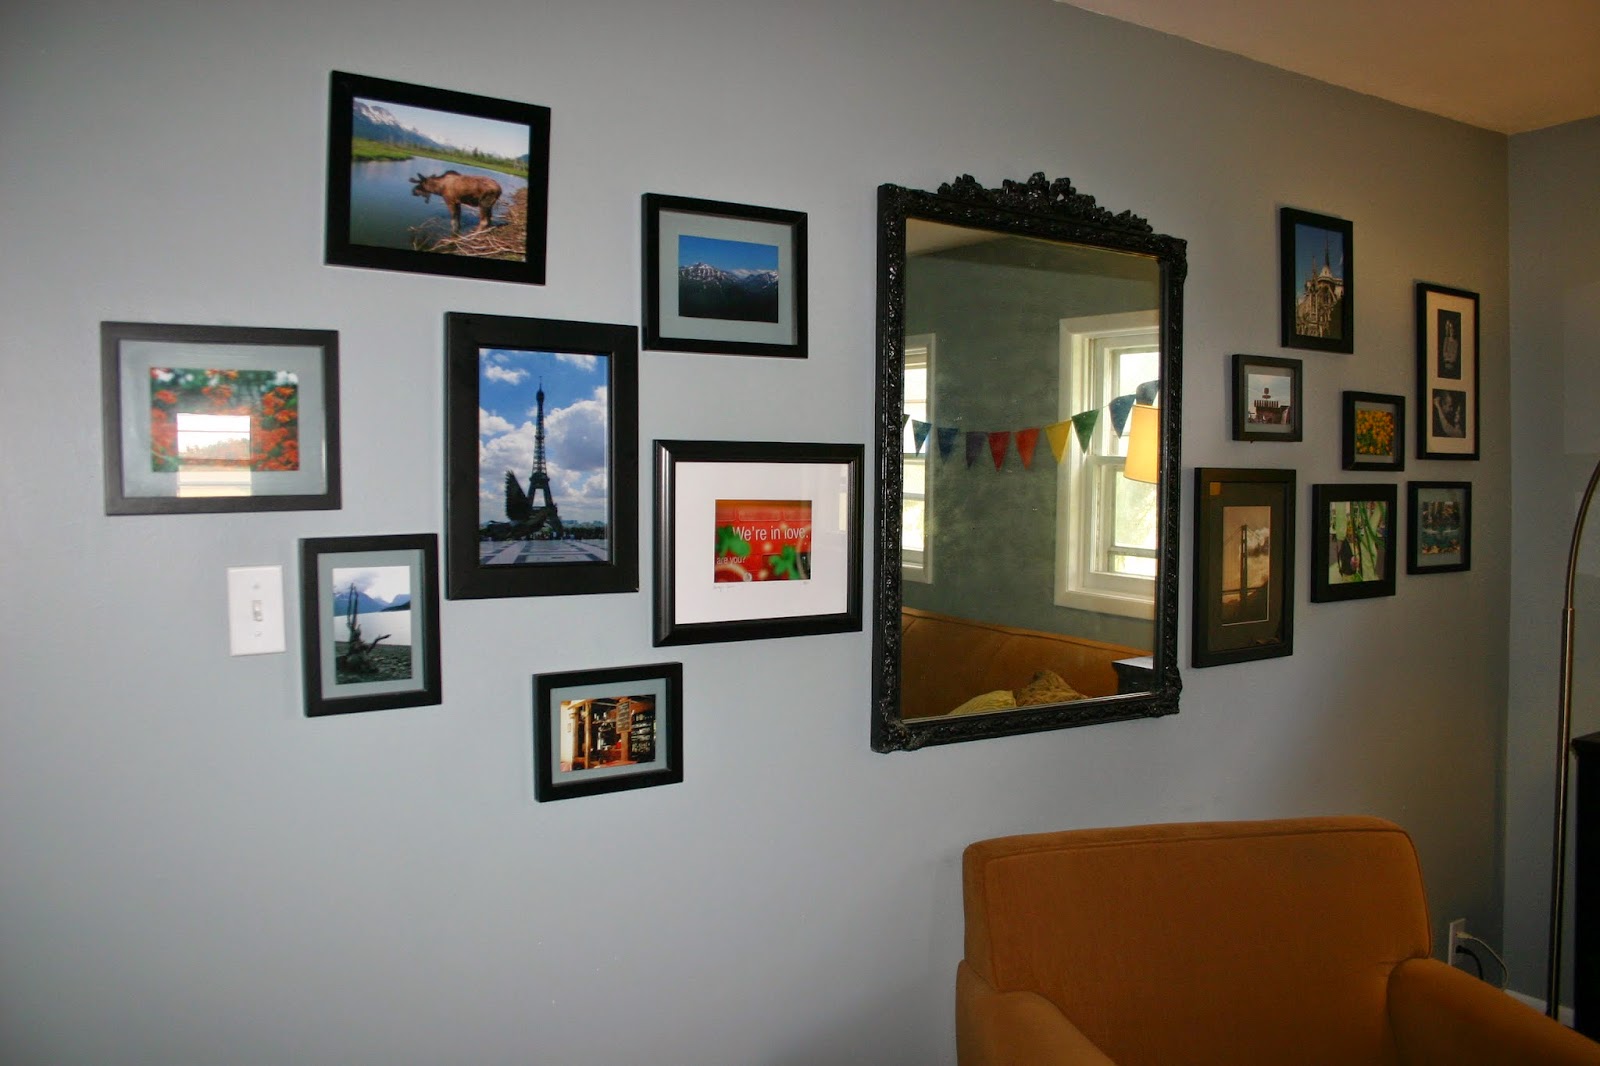
Things we have done:
- Painted ceiling white
- Painted walls blue (Flint Smoke by Behr)
- Took down curtains
- Replaced ceiling fan (the new one is a flat black)
- Tore up carpeting and refinished hardwood floors
- Painted trim and windows white
- Replaced beige outlets with white
Things we plan to do:
- Widen doorway from kitchen
- Build built-ins for TV and DVD storage
Kids' Playroom Before:

Kids' Playroom Progress:


Things we have done:
- Painted ceiling white
- Painted walls taupe-ish color (Puddle by Behr)
- Took down curtains
- Replaced light
- Tore out carpet and replaced with hardwood
- Painted trim and windows white
- Removed door from living room to playroom
- Replaced beige outlets with white
Things we plan to do:
- Put in a double sliding door to deck
Master Bedroom Before:

Master Bedroom Progress:

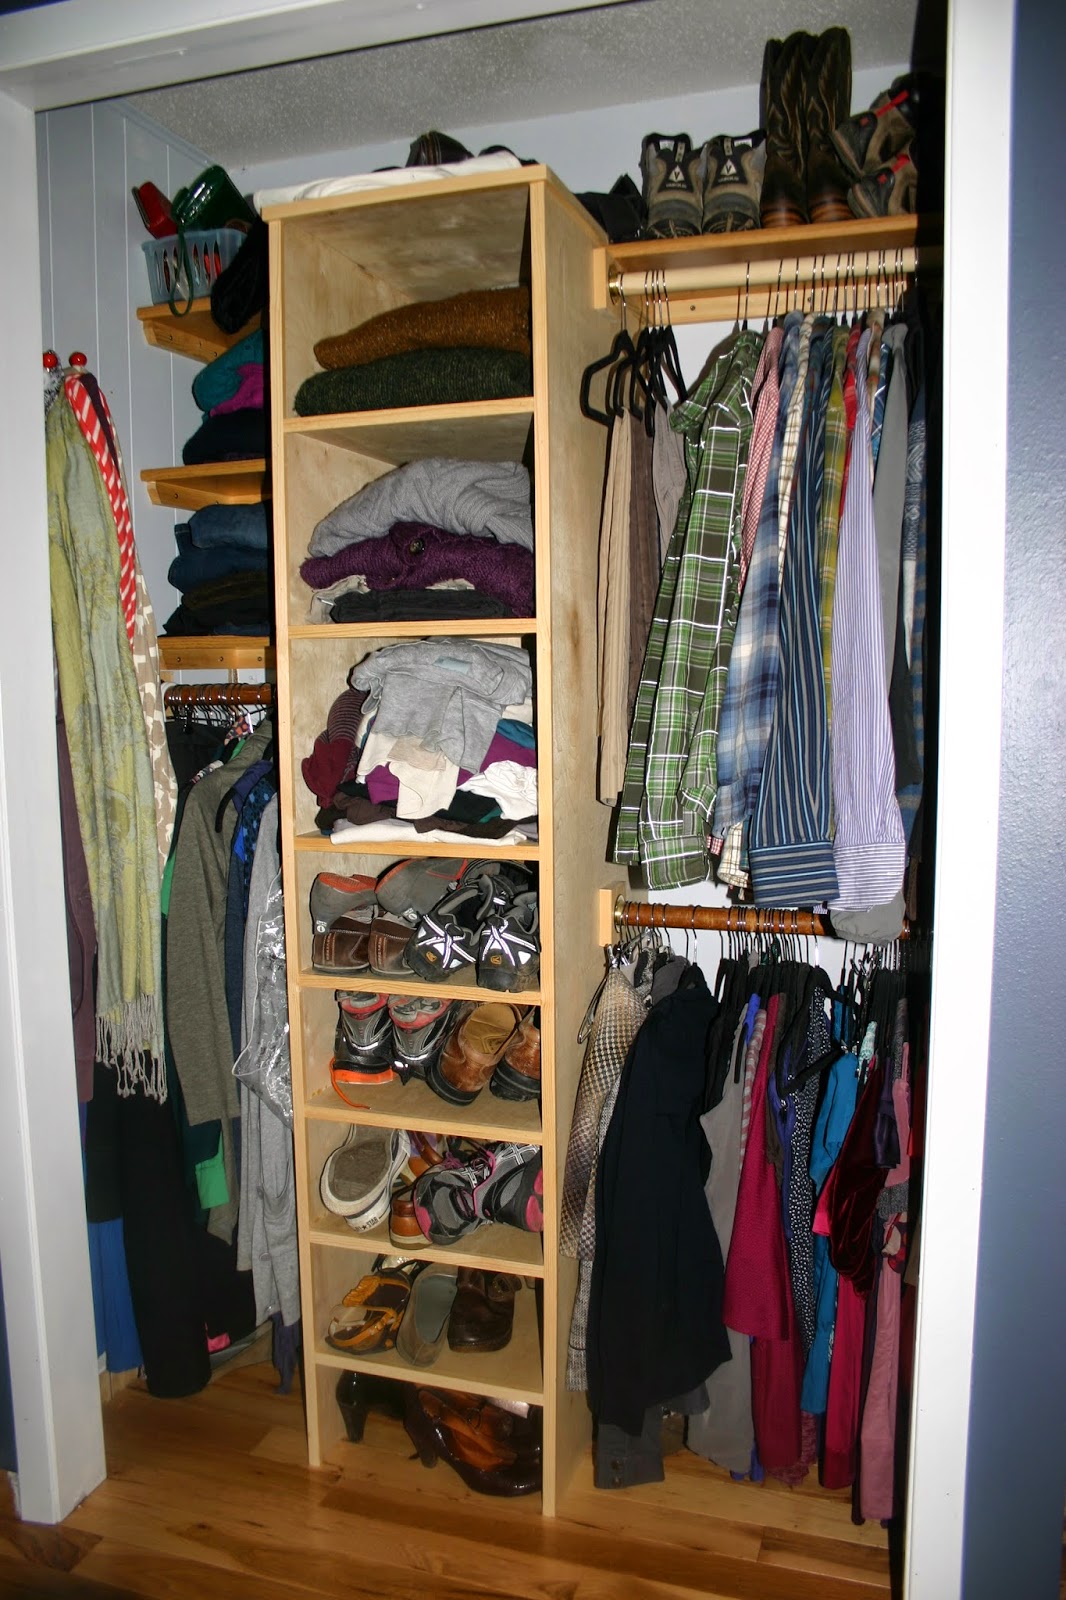
Things we have done:

- Repainted walls (after originally painting them a different color) (Blue Grey Slate by Glidden)
- Painted ceiling white
- Tore out carpet and installed hardwood floors
- Built a cube-style bookcase
- Replaced beige outlets with white
- Painted trim, doors, windows white
- Built a new closet organizer and removed bifold doors
Things we plan to do:
- New ceiling fan


1st Floor Bathroom Progress:


Things we have done:
- Painted walls purple/grey color (Milestone by Behr)
- New ceiling light
- New shower curtain
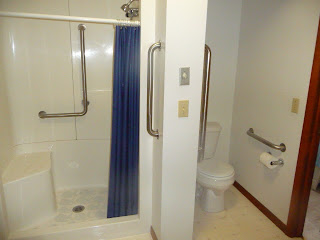
- Removed some of the handicap bars
- Painted all trim and doors white
- Painted vanity (Puddle by Behr)
- Built a wood farm around existing mirror
- Replaced hardware on vanity and doors
- Replaced beige outlets with white
- Built shelves into the closet (originally just a clothing bar)
- Replaced vanity countertop
Things we plan to do:
- Replace light above mirror
- Bigger Ideas: tear out shower and do a larger tile enclosure with double shower heads, replace flooring
Laundry Room Before:

Laundry Room Progress:

Things we have done:
- Painted walls and ceiling white
- Replaced washer
- Tore out ceiling drywall to replace upstairs bathroom plumbing
- Moved and painted coat hooks from porch
Things we plan to do:
- Replace dryer
- Move utility sink next to washer
- Build built-in cabinet above laundry
- Build bench, cubbies and coat hooks on opposite wall of washer/dryer
- Paint trim/doors/windows white (EEP! Yes I claimed in a previous post that I was finished... this is truly the last remnants of unpainted trim in the house!)
- Tear up linoleum and refinish wood floor (**crossing fingers**) underneath
- Bigger Ideas: Build on an attached garage off laundry room and convert laundry room into a mudroom/laundry with door to garage
Upstairs Office/Craft Nooks and Hall Before:

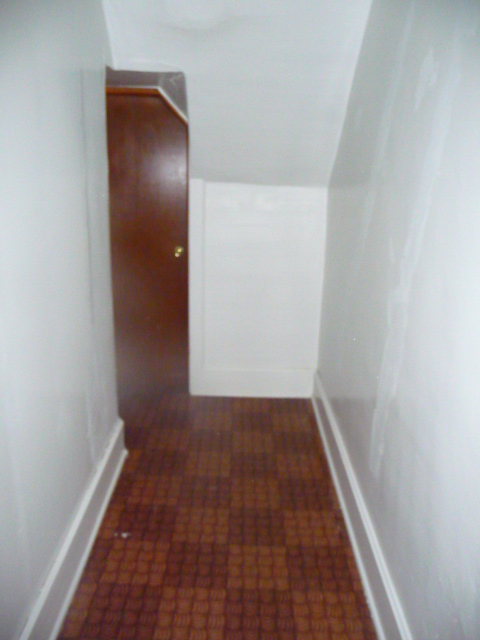
Upstairs Office/Craft Nooks and Hall Progress:


Things we have done:
- Painted walls and ceiling white and green (Spring Cactus by Glidden)
- Made the stair wall a half wall
- Tore out closet for office nook
- Widened doorway to craft area
- Tore-up linoleum and painted wood floors
- Painted trim and doors white
- Built a quilting table and bookcase
- Replaced all lighting
- Replaced beige outlets with white
Things we plan to do:
Nothing comes to mind! Except perhaps replace the window in the quilt room eventually.
Nothing comes to mind! Except perhaps replace the window in the quilt room eventually.
2nd Floor Bathroom Before:

2nd Floor Bathroom DONE:


Things we have done:
- Complete renovation from framing out including new electrical, plumbing, flooring, window, tub, vanity, lighting, paint.
Things we plan to do:
DONE!!
DONE!!
F's Bedroom Before:

F's Bedroom Progress:

Things we have done:
- Painted ceiling (Arctic Ocean by Behr)
- Painted walls (Ancient Pewter by Behr)
- Moved ceiling fan from living room and painted hardware silver and put on new globes
- Tore out carpet and laid square tiles (classroom tiles)
- Painted all off-white trim/doors/windows white
- Built a closet organizer, painted closet floors and walls
Things we plan to do:
- Window coverings/blinds
- Convert this to the baby room with guest room bed
- Replace electric heater
E's Bedroom Before:
 |
| This room is affectionately referred to as the "Hobbit" room because of the silly little door. When we first looked at this house, E immediately took a dive on the old cot still in the room. She got a good scrubbing in the tub that night... |
E's Bedroom Progress:


Things we have done:
- Painted white
- Painted walls (Phantom Mist by Behr and Memories by Behr on window wall)
- Put in new ceiling fan
- Tore out carpet and laid square tiles (classroom tiles)
- Painted all off-white trim/doors/windows white
- Put up removable, sticker-like flowers
- Replaced window
- Put up curtain
Things we plan to do:
- Tear out paneling and insulate and drywall
- Build bookcases in flat parts of walls
- Build built-in two twin beds on either side of window
- Build built-in wardrobe next to door
- Put in 2 dormer windows in slanted walls


.jpg)


