Monday, May 25, 2015

Outbuildings: From Work House to Play House

Despite some rainy weather, Andy and I managed to get a little outdoor work accomplished on this three day weekend.  One of the things on our to-do/wish list since we moved in was making one of the outbuildings into a playhouse.  The "small" outbuilding is situated near our vegetable garden and the best area of lawn on the acreage.

Two summers ago, we built a sandbox and outdoor play area next to the outbuilding but never got around to cleaning out the inside of the building and repairing the roof.  With my sister and brother-in-law visiting this weekend, we decided to finally dive into this project.
Putting my city sister to work
The intermittent rain kept us from doing any roof work, but we were able to jump into the interior cleaning portion of the project- aka spider and mouse removal.
Walls piled with years of dust, dirty, bugs and animal poop

Rat's nest in loft
I don't have any pictures of the inside of the building when we first moved in because I refused to even peer inside but this is where we started on Saturday.


Andy had already done an initial clean out of a generation worth of rubble and randomness inside over the last three years.  We found a few "gems" to keep such as this box as well as some old stools and buckets.

The main task of this weekend's clean out was to purge, organize and make the inside safe for the kids.
Our little helper is super confident up and down the ladder to the loft
We took everything out and hammered down or pulled out all nails sticking out of the walls.  Like millions of rusty nails.  We also removed two tables that someone had probably used as planting tables at one point.
Andy tearing out one of the tables
Cleared out, the space is actually pretty large and would make a fantastic guest house if we were so inclined to run plumbing out to it.  Bed in loft, kitchenette and bathroom under with a little sitting area.  A project for another decade I think.  For now, we are using the loft space for seasonal storage and the floor space for a stage and theater area for the kiddos.  After lots of sweeping and vacuuming, the space is "clean" and safe.
Table which will later be a crafting area

Platform for stage area and pod swing.  Loft above holding winter tools and lawn chairs.
Andy used one of the old tables to create a little stage and as soon as we repair the roof, I will be putting up some curtains and maybe some paint to make a really fun theater for the kids to put on their shows (much to Andy's terror as live theater is his biggest fear).
Their first production- "Box Trolls" (F is in the box on the floor)
Another project that we tackled this weekend was organizing all the gardening and outdoor tools.  Previously, we have just stacked up shovels, racks, etc on one of the walls in the 3-way but this was not good enough for LEAN expert Andy.  Screwing a piece of wood into one of the framing pieces of the outbuilding, Andy cut notches and holes fitting each tool.

Taking it even further, he labeled the notch so we know where each tool goes.

Guess this is what you can expect when you keep an engineer around the house.

Wednesday, July 24, 2013

Flowing Water = Happy Kids

We have several buildings on our four acres including a barn, silo, machine shed, several three-ways (lean to's) and two closed buildings which were for livestock.  The largest of the closed buildings is being converted into Andy’s shop (I'm sure he will get on soon and bore excite you with his shop conversion).  When we first looked at the house, we decided  that the smaller of the closed buildings would be perfect for a kids’ playhouse.  (Dreaming of a tube slide coming out the top...)

Playhouse is on the left; Andy's shop on the right
 We are in the process of cleaning out the playhouse (our best find was an old outhouse toilet!) but meanwhile, we are creating some activities for the kids to play with around the exterior.  I'm thinking Children's Museum meets Green Acres.  So, our first project for the play area is a water wall.  I got the idea from this picture I found on Pinterest:  http://pinterest.com/pin/547961479631788990/

I have been collecting bottles for a week or so.  Andy brought home several wood pallets from work (7 of which we used for the compost bins) which I thought would make the perfect base.  The only purchase we had to make for the wall was tubing from the hardware store which came out to $5. 

The pallets are very splintery, so I used a trim router from Andy’s shop with a round-over bit  to smooth out the edges.


It’s not perfect, but it did take away the worst of the splintering on the edges.

These are the containers that I ended up having to work with:

Let's take a moment to notice how many water bottles and yogurt containers we have.  Go Petersons!

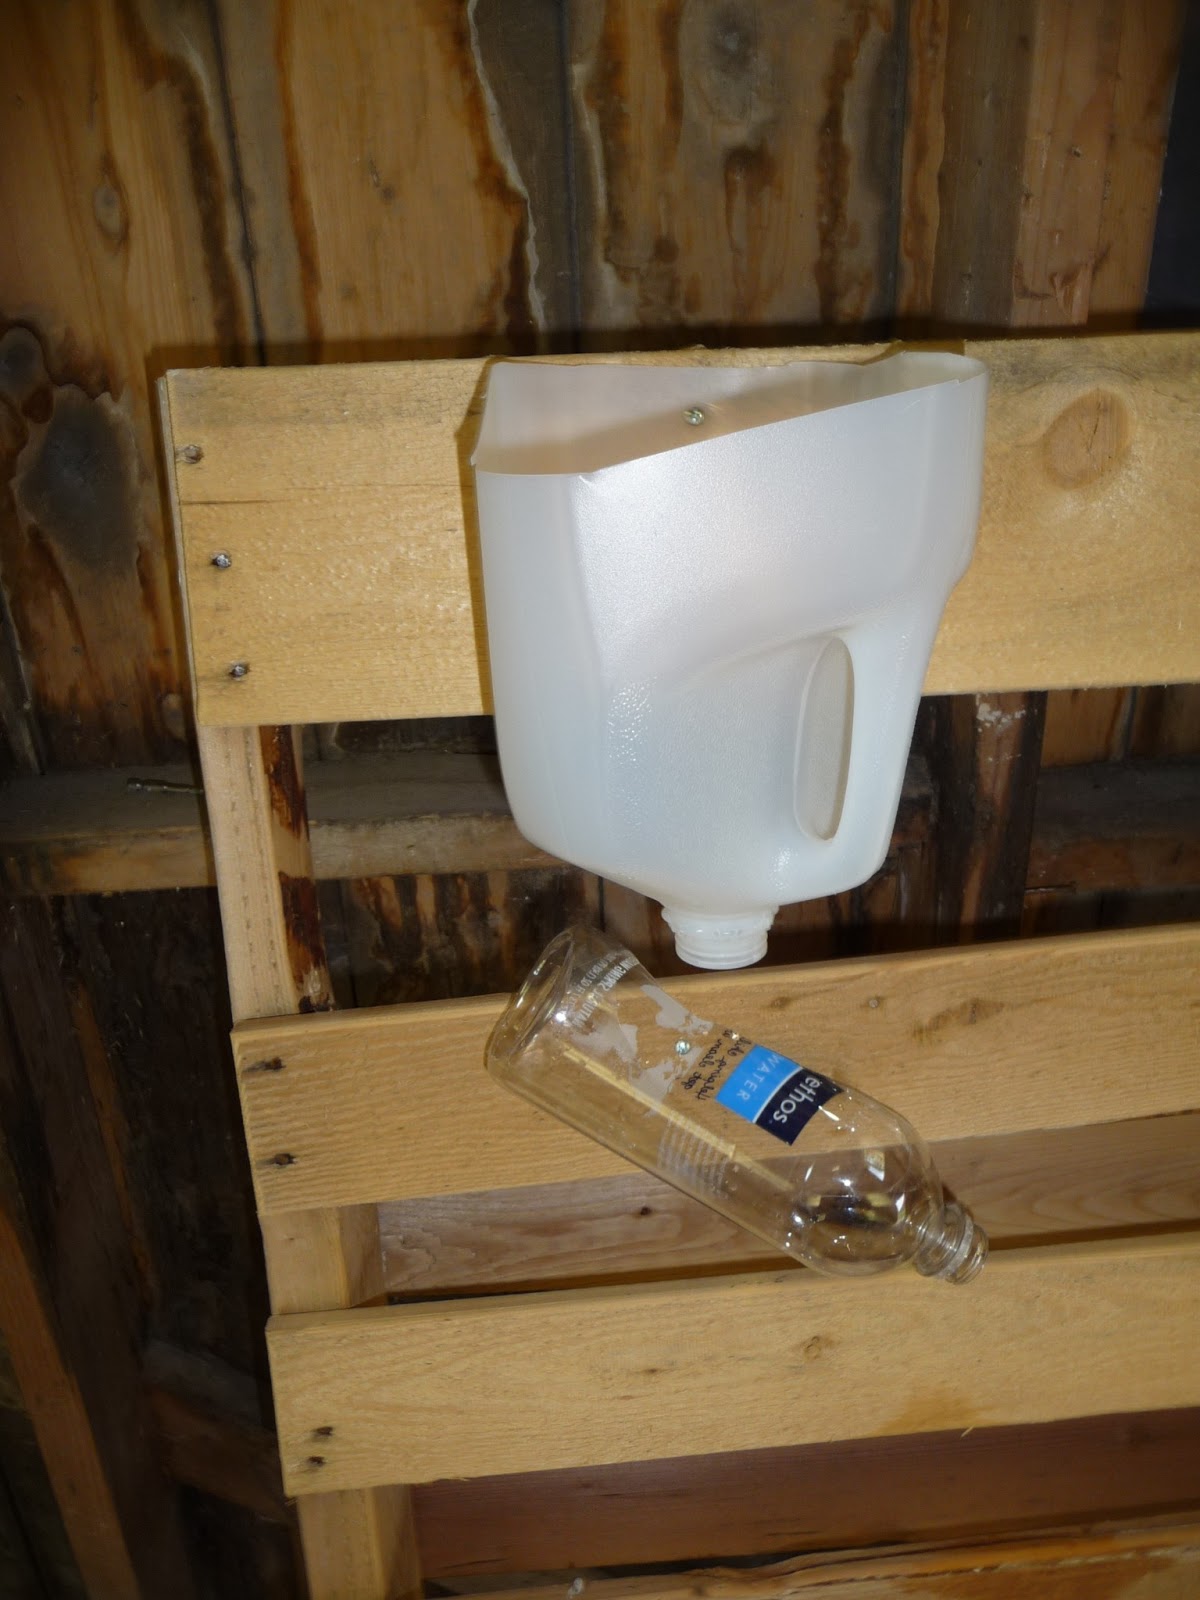
I tried to lay out my plan but the bottles kept moving and rolling, so I gave up and winged it.  I used screws to attach the bottles and clips to attach the hose.


I poked holes in some of the bottles for a strainer effect and cut holes in others to get the water to flow in different ways.  Getting the tubing to work was the hardest; I had to redo several of these.  I was most successful if I attached the bottle first, put water in it, then poked the hole for the tube where the water pooled most.  It’s not perfect, but I got the water to flow through all the tubes and bottles.

If my kids were older, I would have had them help with the project but right now, we would have been fishing screws out of Fs mouth the whole time and E would have insisted on “doing it herself” which would have resulted in a screwing disaster.  Also, I would have probably made the wall so the kids could change the bottles/tubes but right now, that is a bit out of their league.  Maybe in a few years… for now, they love it just as it is!
I realized it was too tall to pour from the top, so I grabbed a random stool from an outbuilding and a stump to make a natural-looking ladder.  The cans at the bottom were also left in outbuildings. 


While E was busy playing with her new wall, Andy cut up a large stump into steps and I placed them on the other side of the playhouse (after spreading mulch in that area).  E LOVES this!

Also notice the fence in the background which was another outbuilding find!
What ideas do you have for our Children's Garden?  I'm thinking pot and pan music wall and crawl-though vine-covered tube but what else have you seen at museums?  We are hoping to be the envy of our "neighborhood"!